

HP Deskjet 420 / 420c Printer Driver
for Windows / Linux / Mac OS.
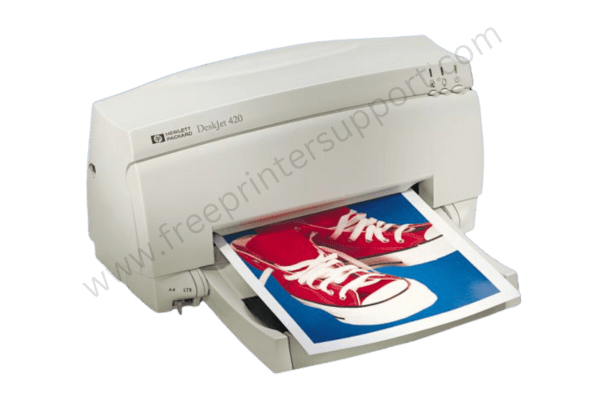
HP Deskjet 420C is an inkjet color printer. It is a very old printer from the Windows 95 and 98 era. If you are looking for drivers for Windows 11 or Windows 10 for this printer it would be a bit hard but possible. In this page, I am going to provide a complete guide on how and where to download HP Deskjet 420C driver and how to install it.
Advertisement
As it is a very old printer you will have to install this printer using its basic driver. In the download section below I have given a step by step guide on how to download and how to install this printer on your computer. Please go to the download section below and download the driver according to your operating system and then check out the installation section as well for the proper installation guide.
Download HP Deskjet 420c Drivers
Go to the below download list and click on the download button according to your operating system version. You can check the operating system version by right clicking on my computer and going to properties then you will get system type and system version.
| Driver Details | Download Link |
| HP Deskjet 420 / 420c Driver For Windows 95, 98 | Download Driver |
| HP Deskjet 420 / 420c Driver For Windows 11, 10, 8, 8.1, 7, Vista, XP | Download Driver for 32bit Download Driver for 64bit |
| HP Deskjet 420 / 420c Driver for MAC OS | Download Driver |
| HP Deskjet 420 / 420c Driver for Linux | Download Driver |
| OR | OR |
| Download the HP Deskjet 420c driver from HP’s official website: | Go to HP Deskjet 420C official website |
How to Install HP Deskjet 420 Printer Driver
Installing this printer on your computer is not a tough job but you will have to install it manually using its basic driver. I have given the basic driver in the above download section. Download the driver and follow the following section to install it manually.
Installation Steps:
- Download the driver from the above given list
- Right-click on the driver’s zip file and unzip it. It will create a folder in the same location, just remember the location for now.
- Connect your printer’s USB cable to the computer and make sure the printer is turned on.
- Now click on the start menu and then go to “settings” and then click on “devices”
- Click on “Printers and scanners” from the left side pane.
- Click on “Add a printer or scanner” from the right side pane.
- Click on the link “The printer that I want is not listed” here. This will open up an “add printer” wizard.
- From this wizard, choose the last option “Add a local printer or network printer with the manual settings” and then click on next.
- On this screen, you will have to choose the port. The port where your printer is connected right now. I recommend you choose the port USB001, USB002 or USB 003, choose one of them. After choosing the port just click on next.
- On the next screen, click on “have disk” and then click on “browse” and go to the location where you have extracted (unzipped) the drivers file.
- Now choose the driver file named “prnhp001.inf” and then click on Open and OK.
- Select the driver named “HP Deskjet 420”. It will be listed automatically, just select it and click on next. Note: HP Deskjet 420 driver will work with 420c as well, so don’t get confused between them.
- After that, click on “next” and “finish” to complete the installation process.
- The printer HP Deskjet 420C has been successfully installed. That’s it