HP Laserjet m1005 printer is a very popular printer due its low printing cost and for its durability. It has an inbuilt flatbed scanner in it. Lots of people have installed HP laserjet 1005 printer & scanner driver, but they don’t understand how to use its scanner to scan the documents. They can even print but don’t know about the scan.
Today in this article, we’ll know how to install HP Laserjet m1005 scanner driver and how to use its scanner software to scan the documents to pdf, jpg, png, tiff format etc. So let’s start.
Advertisement
How to Scan from HP Laserjet M1005 Printer
Install Driver
Download Hp laserjet m1005 driver from its download page and then install it on your computer by following its on-screen instructions.
Create Scanner Shortcut on Desktop
We have made a dedicated article on this create scanner shortcut. Check the article: How to create scanner icon on desktop.
How to Scan
-
- Double-click on the HP m1005 scanner icon from your desktop (Scan a Document or picture).

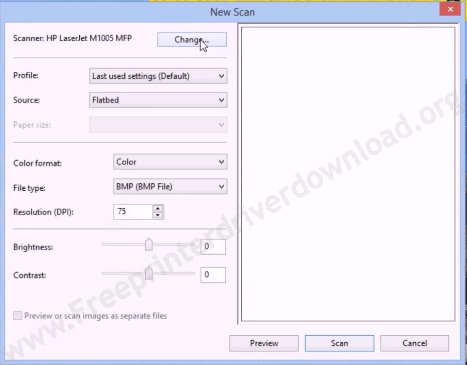
- A scanner settings window will open in front of you.

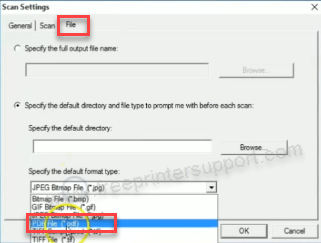
If you want to scan a document as a PDF file, then you’ll have to select PDF from the “file type” filed. Please see the following screenshot. If you want to change its default option as PDF so that PDF option will be selected already every time you for a new scan, so please check out how to set PDF as default.

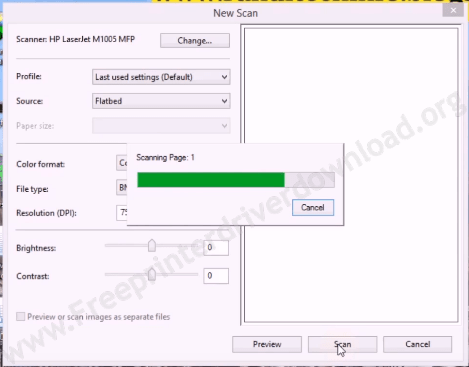
- Set the settings according to your needs and then click on Scan button. It will start scanning.

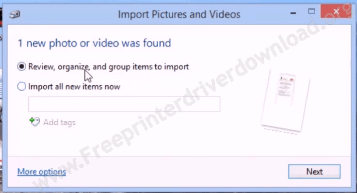
- After finished scanning, it will ask you to review the scanned item. Here you need to select “Review, organize, and group items to import” and then click on Next button.

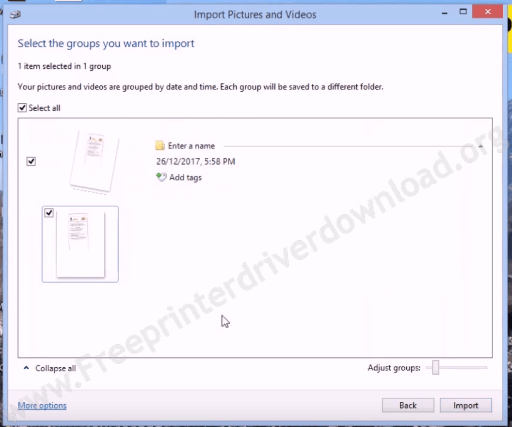
- It is ready to import, click on Import button.

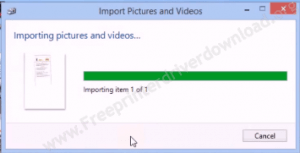
- Eventually, it will start importing the scanned document and saving to its default location. The location will be open automatically once it finished importing.

- Here’s your scanned document which is saved in its default location which is: “C:UsersUserPicturesImported Pictures and Videos”.

- Double-click on the HP m1005 scanner icon from your desktop (Scan a Document or picture).
That’s it
How to set PDF as a default scan option (Scan to PDF)
The following instructions will guide you on how to set the PDF file format as a default file format option. So that PDF file format will be selected automatically every time you go for a New scan.
Open “Scan To” 

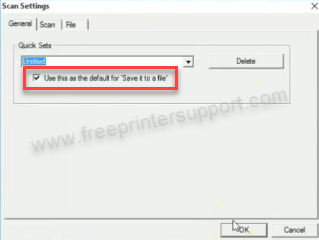
Go to General menu and tick the option “Use this as the default for ‘Save it to a file’”
FAQ
Q: How to change pdf?
A: To scan a document as a PDF instead of BMP or JPG (image) file you just need to change its file type. Please see the following screenshot.

If you want to set PDF file format as a default option when every time you for a new scan, then go to the above-given instructions on how to set PDF as a default scan option.


