


In this article, we are going to explain how to install printer driver manually in Windows 10. Sometimes the printer doesn’t get installed properly through automatic driver installation. For example, you have added the printer and tried to install it through the installation file, but you are getting an error message “The destination driver file is not found“.
This usually happens if you disable the installation file at the time that you have connected the printer to your computer. You can still install the drivers manually.
Advertisement


Steps to Install Printer Driver Manually
To install the printer driver manually on a computer, it must require a basic driver (INF driver). So first download the basic driver and then see how to install it manually. These steps can be applied on Windows 10, 8, 8.1, 7 as well.
Step 1: Download the Basic Driver (INF Driver)
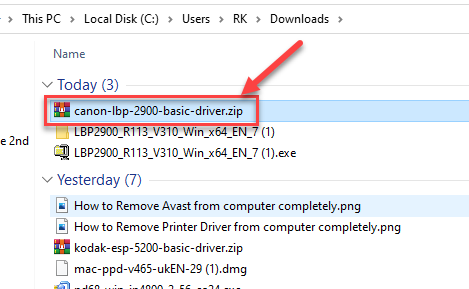
Download the basic driver from www.freeprintersupport.com/hp/. In this tutorial, we are going to install Canon LBP 2900 printer on Windows 10 computer. Please download the basic driver (INF driver) from the link below: https://www.infdriver.com/download/canon/canon-lbp-2900/canon-lbp-2900-basic-driver.zip

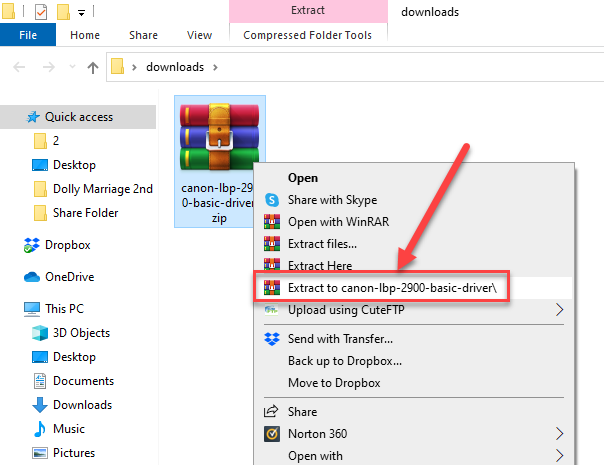
Step 2: Extract the Basic Driver from the Zip file
Right-click on the downloaded zip file and click on “extract to canon-lbp-2900-basic-driver”

Here is the extracted folder

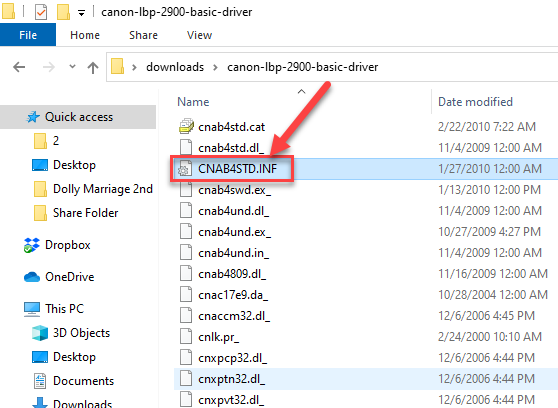
In the extracted folder you’ll get the .INF file that is required for manual installation.

Step 3: Install the basic driver manually
Steps:
- First, right-click on My computer and go to “Manage“.

- Then click on “Device Manager“.

- Now you will see several options on the right hand side, click on “Other devices“.
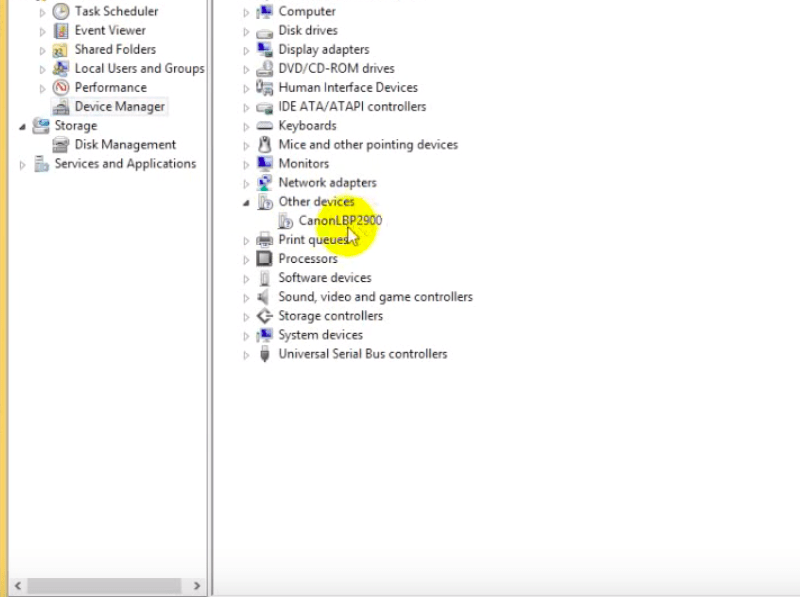
- You will find the printer here, right-click on your printer name and click on “Update Driver Software“

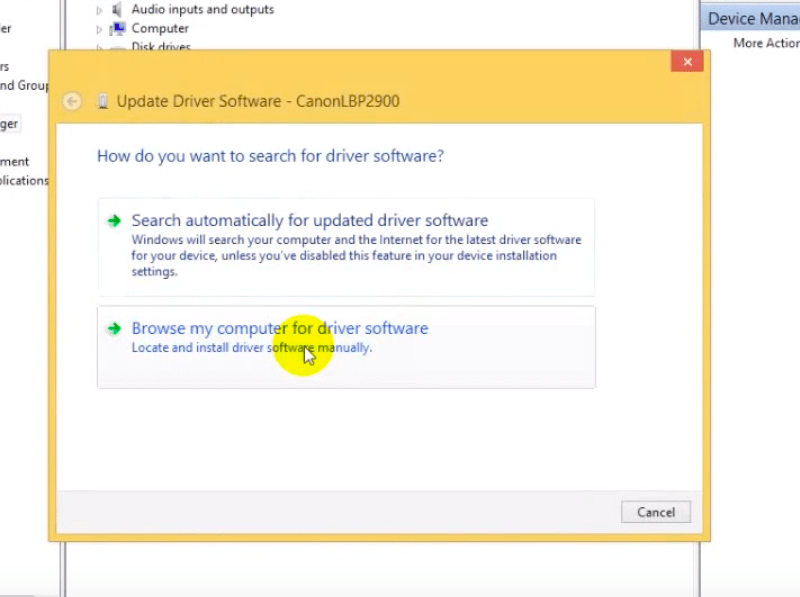
- Now click on “Browse my computer for driver software“
- Now click on “Let me pick from the list of device drivers on my computer“.
- Now you will see a list of devices on the screen, just press “P” and then select “Printer” and click Next.

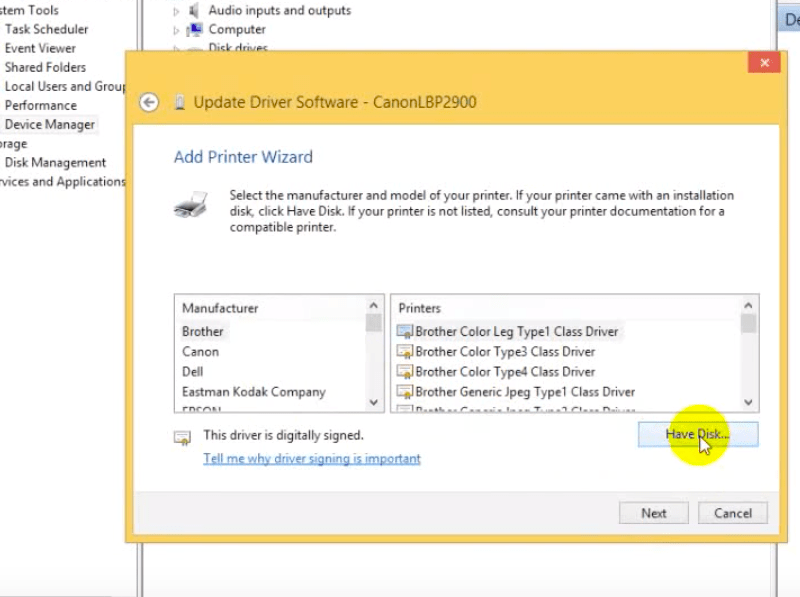
- Now click on “Have Disk…“
- Then click on Browse.
- Now locate the printer basic driver that we have extracted in step 2. Here, look forward to the .INF file name. For this particular printer, select CNAB4STK.INF file and click on open.

- Then select your printer model number from the list of drivers in this window. Then click on Next.

- Type the printer name you want to set and click on Next.

- Please wait while installing it manually.

- Choose the option “Don’t not share the printer” and then click on Next.

- Finally, click on Finish.
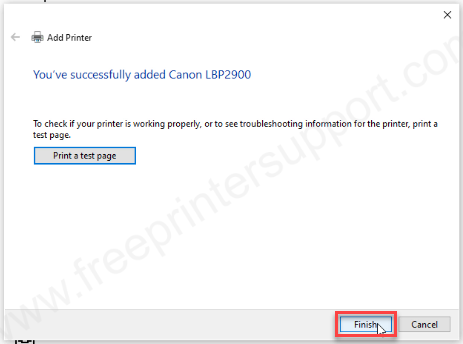
- The printer driver has been installed using its basic driver INF driver.
- That’s it.


Video:

If you have any query about downloading and installing basic drivers manually then let us know in the comments section down below.
Questions & Answers
Q: I have installed windows 7 64 bit. I have HP Laserjet 1320n I am unable to download 64 bit driver for the said printer. I have 32 bit driver which is not installing. Plz send me link of 64 bit driver.
A: The basic driver is only available for the 64bit Operating system. Please follow the instructions below.
- Download and install the Dot4 Driver.
- Download the basic inf driver.
- Install the downloaded basic driver like this. Note: While you are installing its basic driver, make sure you select the USB_Dot4 port, when it is asking to select the port.
If you have any doubts regarding the steps, please let me know.
Q: For Lenevo laptop, can I use this driver hp 1018?
A: Yes, you can use for your Lenovo laptop. We recommend you to use the HP 1018 basic driver and then follow the above given manual installation guide.