In this article, we are going to explain how to fix the printer problems after you’ve upgraded to Windows 10, updated the system, or you’ve done some kind of change to your operating system. And eventually, your printer is not functioning properly. What we are going to do here is to show you how you can try to resolve this issue. This could happen to Canon printer, HP printer or any type of printer you have got, you can use these same steps.
Steps to Fix Printer is not printing after Windows 10 update/upgrade
Step 1: Download printer drivers
Printers having Utility shortcut in the start menu:
Advertisement
-
- Click on Start Menu.
- Now find Printer Utility and click on it. (Find it using the printer name you are using).
- Now click on Support. If your computer doesn’t have this utility, then simply go to the printer’s official website. In my case it is https://global.canon/en/support/
- Open up a browser and take you to their page, you can now choose the continent.

- Then Choose Country and click on Support.

- Now enter your printer’s model number. (You just have to make sure you enter the right model)

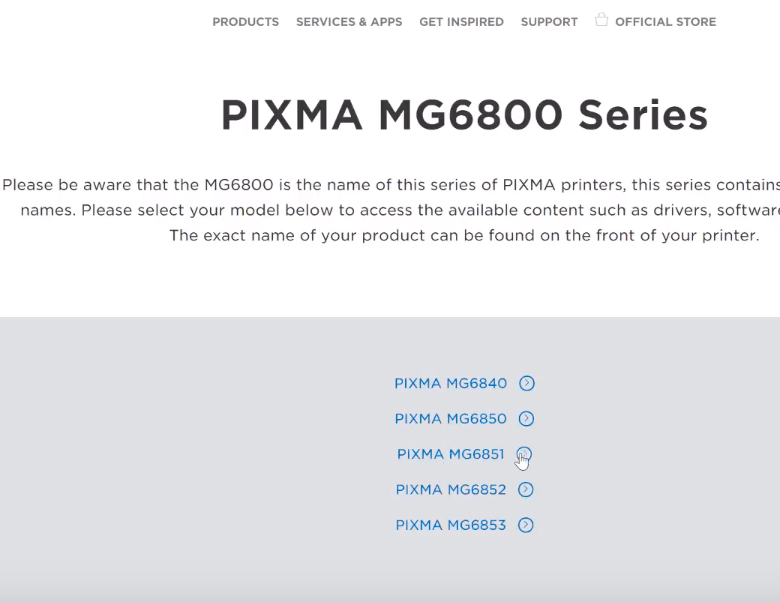
- Select Exact model number from the series. (Sometimes printers change very slightly and you may have for instance mg 6800 or mg 6851, you just have to make sure you select the right model)

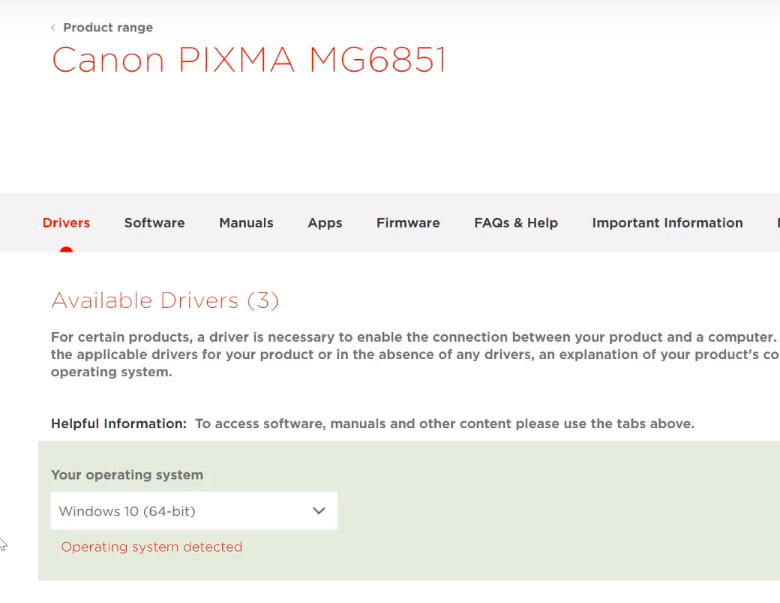
- Select the operating system that you’re using, if Windows 10 is not listed here and your printer is old, then you want to select the latest version which should be Windows 8 or 8.1.

- Now click on Download and then click on the accept and download and this will then start to download.

Printers which does not have utility shortcut in the start menu:
- You can go to the internet and go to the actual website.(In my case it’s Canon)
-
Then click on the support button and then click on Drivers.

- Now follow the same procedure as mentioned above in steps 6 to 9 in the upper section and download the drivers.
Step 2: Uninstall the existing drivers
- First, go down to the search box and type control panel and then open Control Panel.
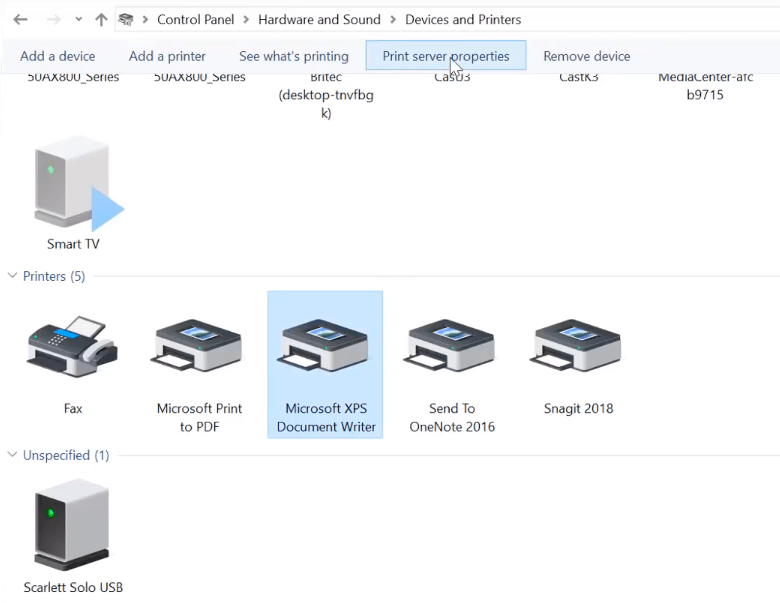
- Now click devices and printers.

- Now, Right-click on the printer which is your default printer and then clicks “Remove this device” (click Yes when it asks to Remove)

- Now click on the Microsoft XPS Document Writer and then go to “Print server properties“

- Now click on Drivers and then select your printer and click on Remove.

-
Now select Remove driver and driver package, click ok and then click yes and let that remove it.

-
Now just click on the Delete button and this will delete everything for that printer. Then click OK once it is done.

-
Now close the Printer Server Properties box.
-
Go back to the control panel now and click on “Uninstall a program”

- Now find all the Canon software and drivers and what you have to do is uninstall all of those, now if yours are Epson or HP or whatever printer you’re using, just uninstall everything that is related to that printer and close the Programs and Features window, when finished.

-
Now turn off your printer and remove the USB cable from your printer.Reboot the computer, and then check the issue is fixed.
Step 3: Re-Install drivers
-
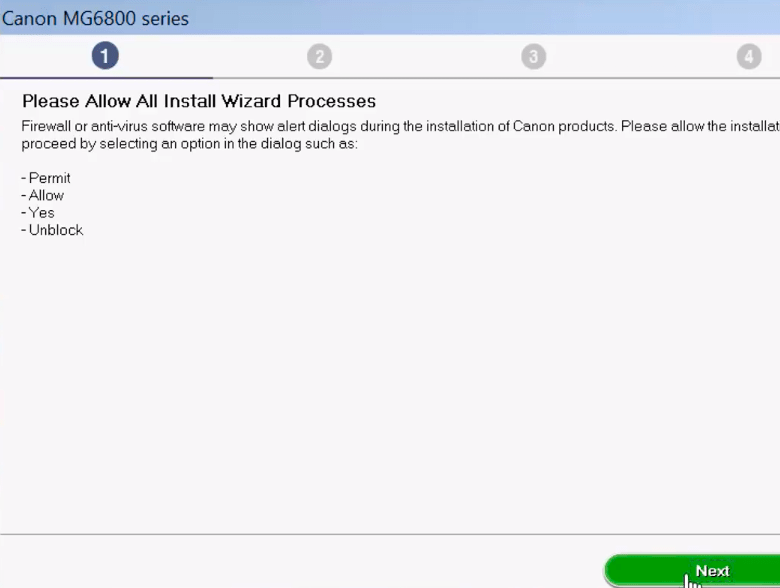
Go back to your browser or download a folder where you have downloaded the driver and software package and double-click on that to install it.
- Now click on Start Setup. (Make sure that you’ve got your USB lead out of the printer at this stage because it’s important)

-
Let this acquire some information and it will take a bit of time so, just be patient and let that finish this process.

-
Now, select the Region and the Country, then click on next:

- Click Yes for License Agreement:

-
You can opt-out of their extended survey program, so you can click on “Do not agree” or Agree, whichever you like.

- Then click Next:

-
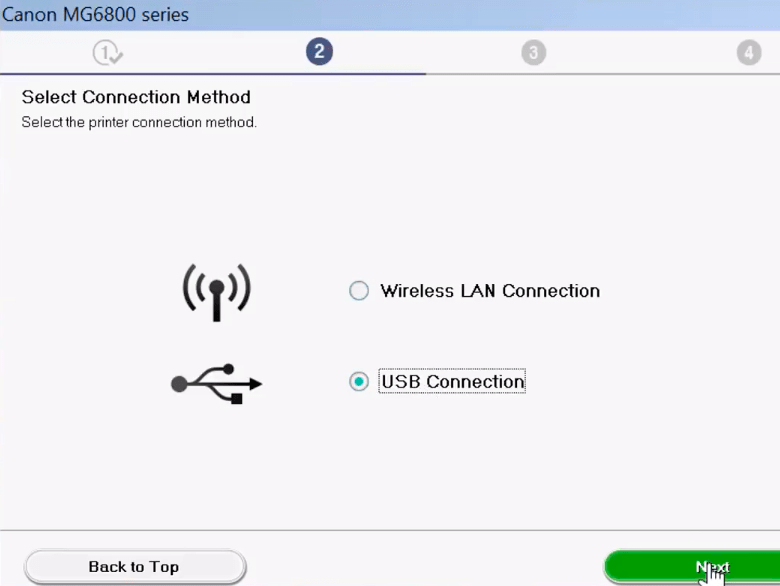
Now select the connection method and click Next, we are selecting USB connection:

-
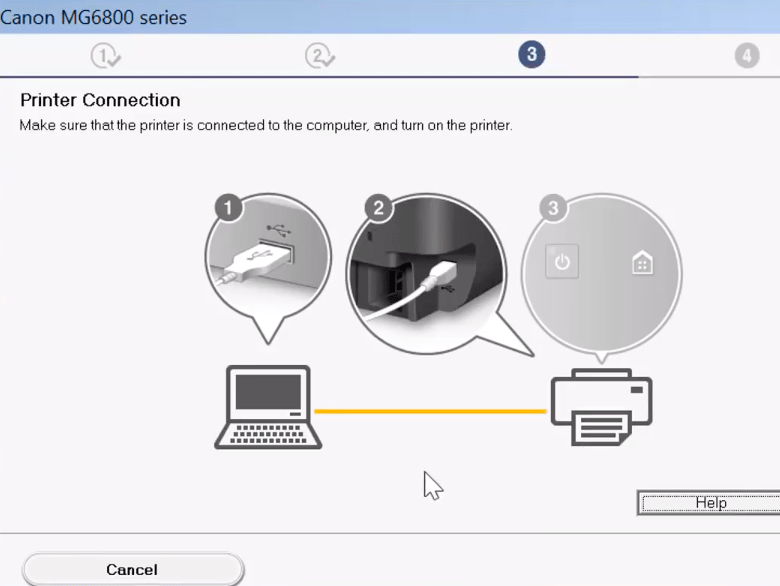
It will start downloading and getting that all prepared. Give it the time to install everything. Then it’s going to ask you to connect to your USB cable because we’re using USB here, you can set it up as a Wi-Fi if you wish.

-
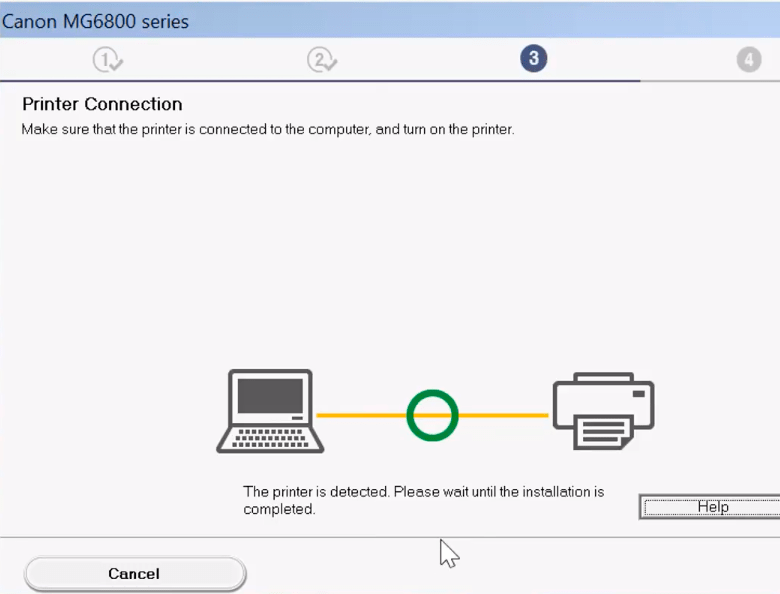
Now, Insert the USB cable and power on the printer, so let the printer find itself here, once it’s turned on, you’ll see it is detected.

-
Then you can execute a test page here if you want to execute a test page and let that printout and this is going to do all the printer head alignment and test that printer page for you. After that, click Next.

-
It will say the setup is complete, click Next.
- Then click Next to install the software list and give it some time to install it.

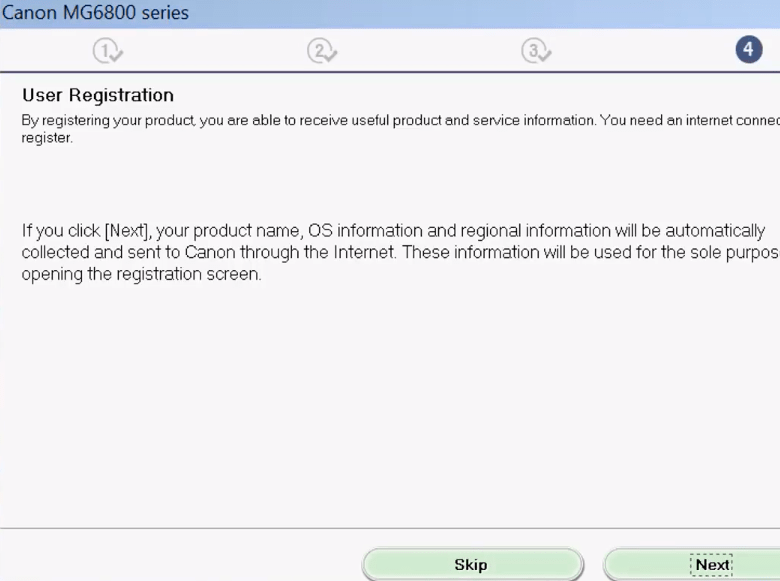
- Once it is completed, it will ask you to register the product , you can click Next to register the product or you can simply click “Skip” and then exit.

- You should be able to print now.
- That’s it
Above steps will effectively solve the following errors:
- The Printer doesn’t print after Windows 10 update.
- The printer has stopped printing after Windows 10 update.
If you still have any issues, there may be some sort of part/files left from the drivers or software for that particular type of printer and what you’re going to need to do is use tools like everything or Revo Uninstaller and uninstall all of those drivers that you just installed again. Basically, you remove all the registry keys and all the software and that will remove it from the system and then try to install your software again.
Thank you.


