HP printers tend to display the 49 error sometimes and most users don’t know what to do in such a situation. Although the HP printer error 49 can be caused due to multiple reasons, there are some solutions that you can implement on your own and without any expert’s guidance, which can solve this error. Therefore, in this guide we will describe how to fix HP printer error 49 by apply a few simple solutions. Check out the solutions below.

Advertisement
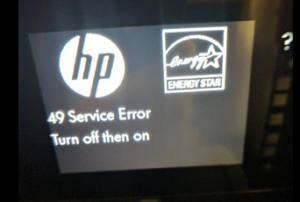
“49 Service Error. Turn off then turn on” message appears on the printer screen.
Possible Causes of Error 49
According to the service manual of the HP printer, the 49 error is caused by corrupt data, bad command, outdated firmware, issues with printer accessories, or invalid operations. As you can see the list of reasons for this error are wide-ranging, but most of these issues can be resolved by following a few solutions.
If the error 49 in your HP printer is caused due to some hardware issues, like faulty DIMM, defective hard drive or some other hardware issue, then you will have to contact the HP customer support. However, if this problem is occurring only when you are printing certain types of documents or when the print queue is long, then follow the solutions given below as they will certainly help you in resolving this error.
How to Fix HP Printer Error 49?
Primarily, we will describe two solutions in this section. You should try these solutions one-by-one in the order they have been mentioned. We have provided an image file for each step so that it’s easier for you to understand the process.
Solution 1: Reset Printer and Clear Print Queue
In this solution, we will reset the HP printer and clear its print queue on your computer. Follow the steps in the exact order as they have been mentioned to avoid mistakes.
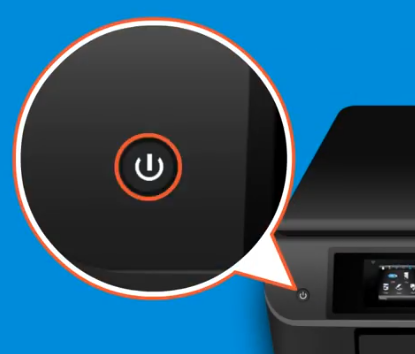
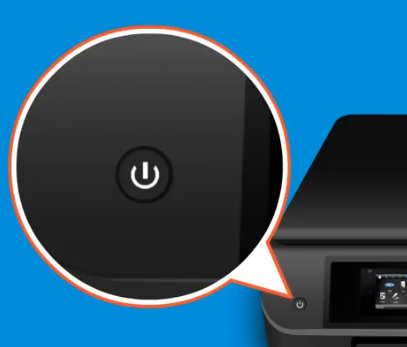
- Press the ‘Power’ button of your printer to turn-off your printer.

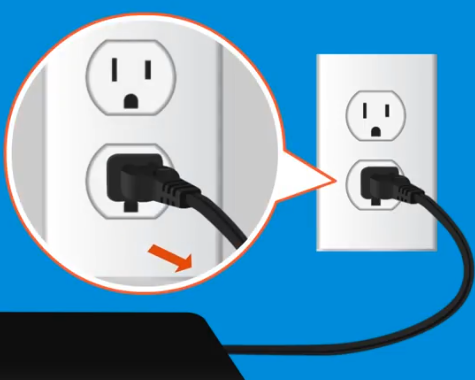
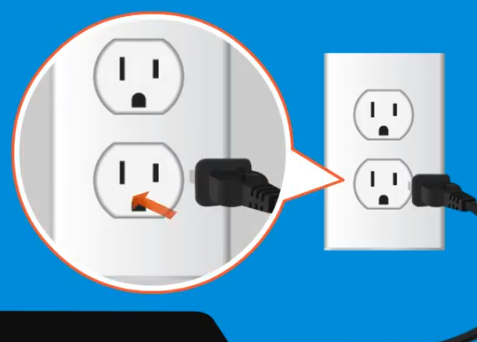
- Unplug the power cord of your printer from the electric socket.

- Unplug the USB cable, Ethernet cable or any other cable connected to your printer.
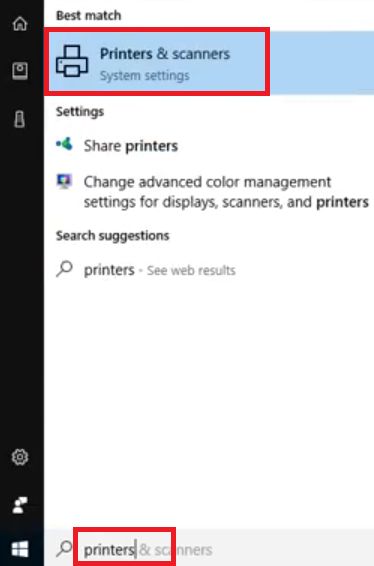
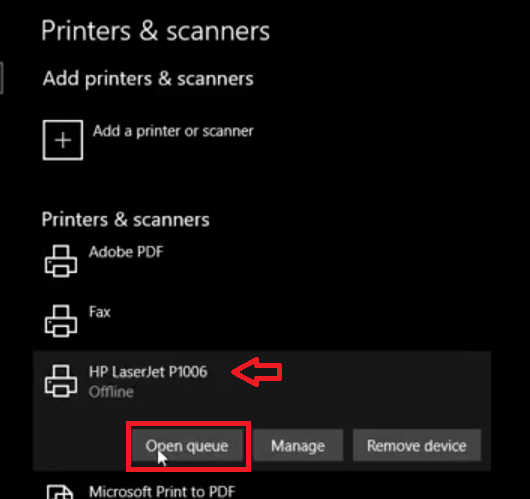
- Type ‘printers’ in the search box and choose ‘Printers & scanners’ from the search results.

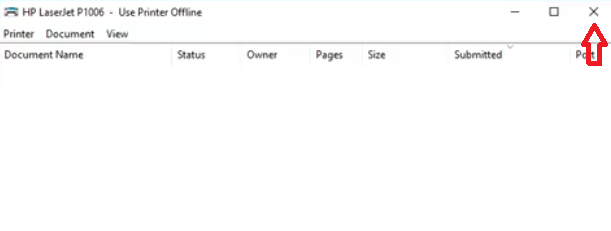
- In the Printers & scanners page, choose your HP printer and click on the ‘Open queue’ button.

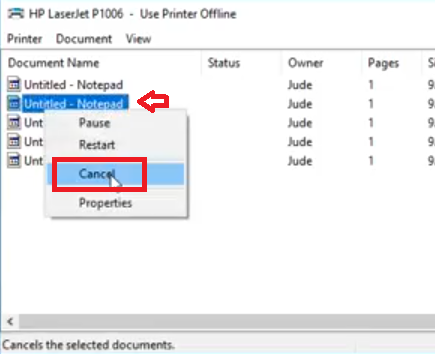
- This will open the print queue. If you want to delete a single document, then right click the document you want to delete and choose the ‘Cancel’ option.

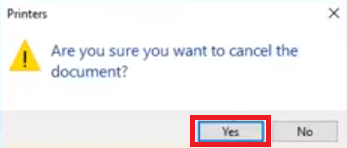
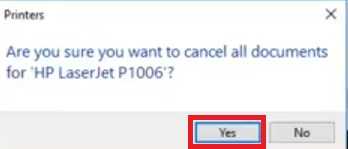
- When asked for the confirmation, click on the ‘Yes’ button to cancel the document.

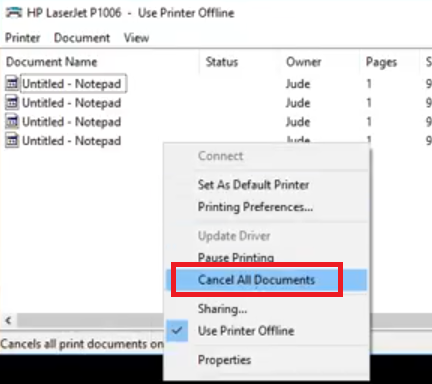
- You can either delete the documents one-by-one, or, you can right click anywhere on the window and click on ‘Cancel All Documents’ to cancel all the documents in the print queue.

- When asked for the conformation, click on the ‘Yes’ button to proceed.

- After deleting all the documents or the document you think is causing this error, click on the ‘Close’ button to close the window.

- Reconnect the USB Cable, Ethernet cable or any other cable which you disconnected from your printer in the Step 3.
- Re-plug the power cord into the wall socket.

- Press the printer ‘Power’ button to restart your printer.

That’s it, you have successfully reset your printer and have cleared its print queue from your computer. Try to print some documents with your printer, if you still get the 49 error, then try the next solution.
Solution 2: Update Printer Firmware
Sometimes the HP printer error 49 is caused due to an outdated firmware. You can easily update your printer firmware for free by following the steps given below.
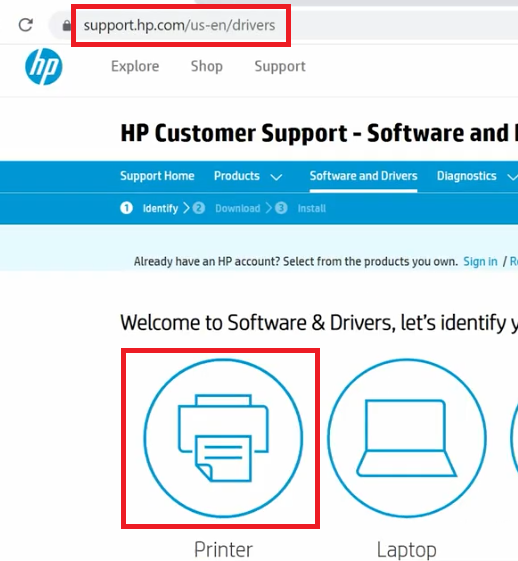
- Open your web browser, and, in the address bar, type ‘support.hp.com/drivers’ and press the “Enter” key. On the drivers page, click on the ‘Printer’ option to continue.

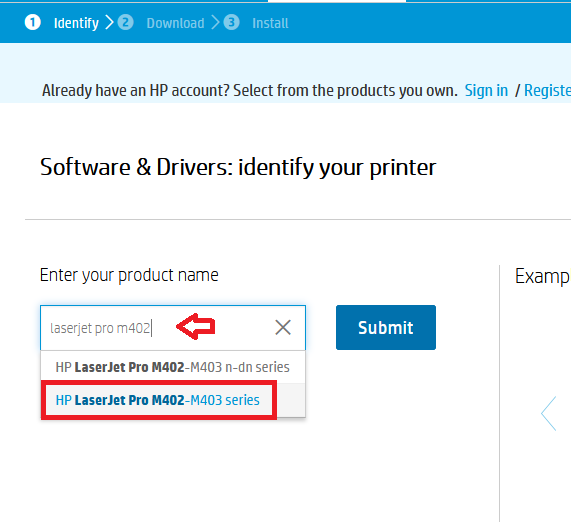
- Type the model name of your printer on the search box and select your printer model from the suggested results.

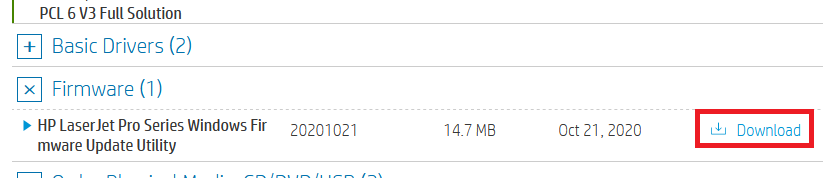
- In the driver download page of your printer, locate ‘Firmware’ and click on the ‘Plus’ sign on its front to expand the list. Finally, click on the ‘Download’ link associated with your printer firmware.

- Click on the ‘Save File’ button to begin the download of your printer firmware update utility file.

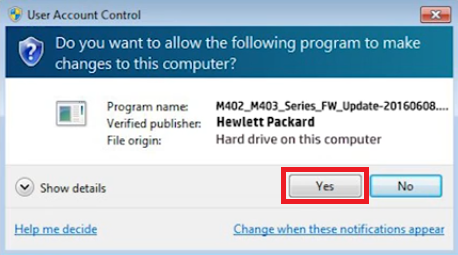
- Double click the newly downloaded firmware utility file and click on the ‘Yes’ button to proceed.

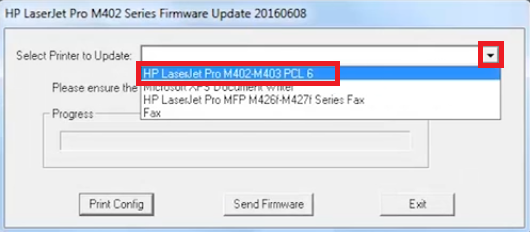
- Click on the ‘Down’ button to select your printer, then choose your printer from the drop-down list.

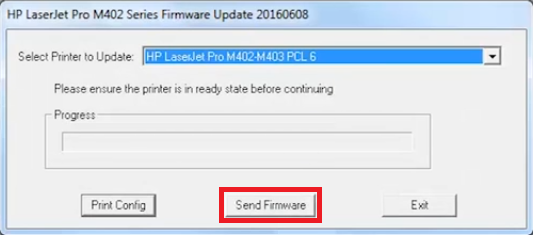
- Click on the ‘Send Firmware’ button.

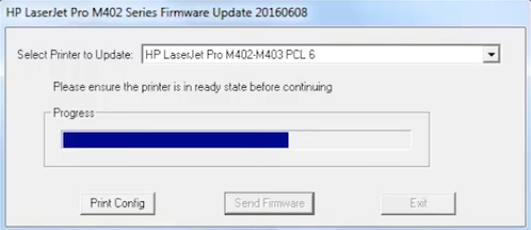
- Wait for the firmware update to finish.

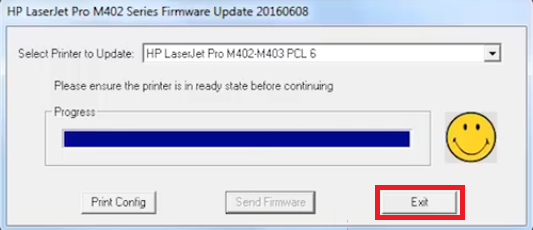
- Once, firmware update completes successfully, then click on the ‘Exit’ button to close the utility.


That’s it, you have successfully updated the firmware of your HP printer. You should try to print documents with your printer and if the 49 error on your printer was caused due to some software issue, then your printer would work properly.
The solutions of how to fix HP printer error 49, which we have shared above, will surely resolve this issue on most HP printers. However, even after following the solutions mentioned above, if you are still encountering the 49 error on your HP printer, then most probably the error is due to some hardware issue and you should contact the HP customer support.